Guide to drying and treating legal cannabis inflorescences
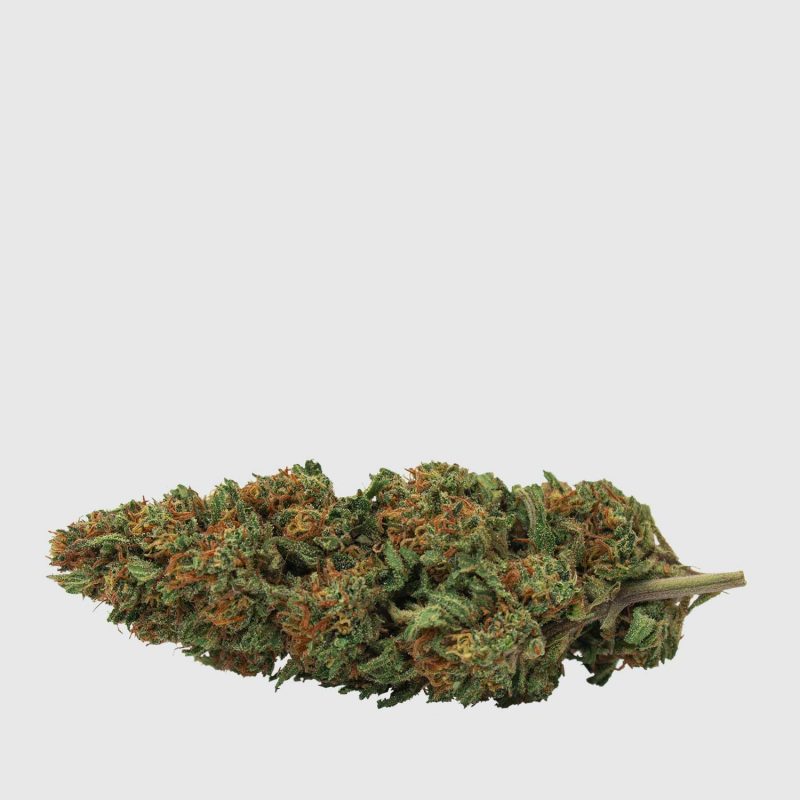
One of the crucial moments for the success of a good harvest is the drying and tanning phase of the legal cannabis buds. After having committed to cultivating and collecting the entire inflorescences, it is essential not to waste an excellent fresh product by ruining it with an improper preparation for storage and use. The hemp to be used (in most cases) must be deprived of its natural moisture (i.e., dried) because, if it contains water, it does not burn properly and does not allow the current release of THC and CBD. Instead, the tanning is that phase of processing that helps to maximise the release of the cannabinoids and terpenes at the time of consumption, and it serves to make the product even more valid and robust.
Like many other phases of cultivation and preparation of the peaks, this also requires time, technique and commitment. In this article, we explain to you what these two phases are, and we show you the safest and most comfortable methods for drying and tanning cannabis.
You may also be interested in:
Combination & Consociation: all allied plants for cannabis cultivation
Legal cannabis drying: the guide
As we anticipated, drying the buds serves to deprive them of that water that would make combustion difficult. An excellent job of drying means that the inflorescences do not develop molds and are available for a long time, preserving cannabinoids and terpenes of quality, without rotting or becoming too dry.
Preparing the environment
There are two factors to consider when drying: temperature and humidity. The warmer and drier the environment is, the faster the drying will go, but it is always better not to overdo both parameters because the drying should not take place too fast, or the quality will drop. First, you will need to find the right location. The room that you choose should not be too cold and should have a low humidity level without being too dry (about 40–50% humidity in the air). The best option is a controlled environment within which it is possible to maintain a fixed temperature of 20 degrees without sudden changes in temperature. After the first three days, it is possible to lower the temperature by a few degrees. Then, it is necessary to clean the environment thoroughly. Disinfecting the surfaces can help to prevent the cannabis from being attacked by pathogens that can lead to the formation of bothersome molds, fungi and bacterial or parasitic colonies. The other necessary characteristics are air circulation (to prevent the stagnation of humidity and to speed up the process) and an absence of light (the plants must dry slowly).
Drying times
An ideal environment allows the drying to take place in less time. An environment in which the humidity is not controlled will result in longer drying times and put you at risk of contamination or the onset of mold. The ideal timing for a medium-sized and not-too-thick line preserved in a temperate and dry environment is at least five days. For the largest and thickest peaks, it can take up to two weeks.
Useful tools
If you do not naturally have the ideal conditions for drying, knock on wood, you can create the perfect room using a series of accessories: an air conditioning system to regulate the temperature, a fan to circulate the air, a dehumidifier to control humidity, a hygrometer to measure it, air filter to limit the odor that, in the first days of the process, will probably be very strong. Use twine and hooks for hanging flowers to dry or nets of wires to support the inflorescences on a ventilated surface.
How to dry and understand when drying is complete
Place the flowers at a distance from each other on the support you have prepared in the darkroom and wait for the time you have set. The buds are ready to be tanned when they become dry to the touch, and it is straightforward to detach them from the branch. Test their dryness with the stem. If it is bent and breaks dry, the plant is dried; if it turns but does not break, there is still moisture. If the plant becomes friable at light touch, drying has probably been too rapid.
Tanning of light cannabis: The guide
Proper tanning serves to ensure the best possible quality of your cannabis in terms of aromaticity and potency of THC and CBD. Tanning has two objectives: to ensure that the bacteria naturally present in the plant degrade any residual chlorophyll present in the vegetable parts and to guarantee the right level of humidity for the inflorescence to have long-lasting and qualitative conservation.
Tanning times
A minimum of three weeks is essential for hasty tanning work on very well cleaned small peaks, and three months for a safe and long-lasting job. Usually, the longer the tanning period, the better.
Useful tools
Use glass jars with a screw-on cap (or with a rubber seal and airtight closure) with a wide neck or similar steel containers. Do not use other materials because they may release odors or not be easy to sterilize.
How to tan cannabis
Sterilizing the containers is essential, first soaking them in boiling water and letting them air dry correctly. Then fill the boxes with the ropes for 3/4 without pressing the vegetable products inside. Close the containers without touching them on the inside and place them in a temperate and dark place (always around 18–20°C). If the buds are well dried, open the jars for 2 minutes without touching the inside 1 or 2 times a day to ensure air exchange. If the peaks closed in the pot release moisture, it means that they were not dry enough, and you will have to remove them, re-sterilize the jar, dry it and put the tops inside, leaving the lid open for at least a couple of days (always in the dark and in dry environment) before repeating the tanning process. At each daily visit, check that there is no mould in the glass, that the smell is healthy (which does not emit ammonia, a sign of putrefaction), and move the buds inside with slight rotations.
Once the humidity inside the pots has stabilized and the time you had set has passed, the tanning is over, and it is time to move on to the conservation, which we have already discussed in this article.


 Italiano

